Jakub Kriz
Software Engineer & Python Enthusiast

Virtual Environments in Python - Part 1
Virtualenvs are a way to create isolated Python environments for python packages. Typically, your Python project will require some external packages to run. Virtualenv allows you to install these packages in an isolated environment, so that they do not interfere with other projects or your system packages.
Python package installation
Let’s have a following script to retrieve html content of github.com:
import requests
html_content = requests.get("https://github.com")._content
print(html_content)
To run this code, we need a requests package. We can install it with pip:
pip install requests==2.22.0
(the == is optional, pip install requests would also work and install the newest verion of the package)
Pip allows installing a package directly, but it also allows installing multiple packages at once. We can create a file called requirements.txt and list all the packages we will need:
echo "requests==2.22.0" > requirements.txt
pip install -r requirements.txt
Problems with system packages
Assuming one would run the above commands without a virtualenv, the requests package would be installed in the system. This means that all python scripts on the system would have access to the requests package.
- What if multiple projects require different versions of the same package?
- What if the system has a package that is not compatible with the project?
Virtualenvs exist to solve these two issues. They help maintain a clean separation between your system packages and your project packages, and they allow you to have multiple projects with different requirements on the same machine. More general solutions like Docker exist, but virtualenvs are a simple and lightweight solution that are generally quicker to set up and use.
Using virtualenvs
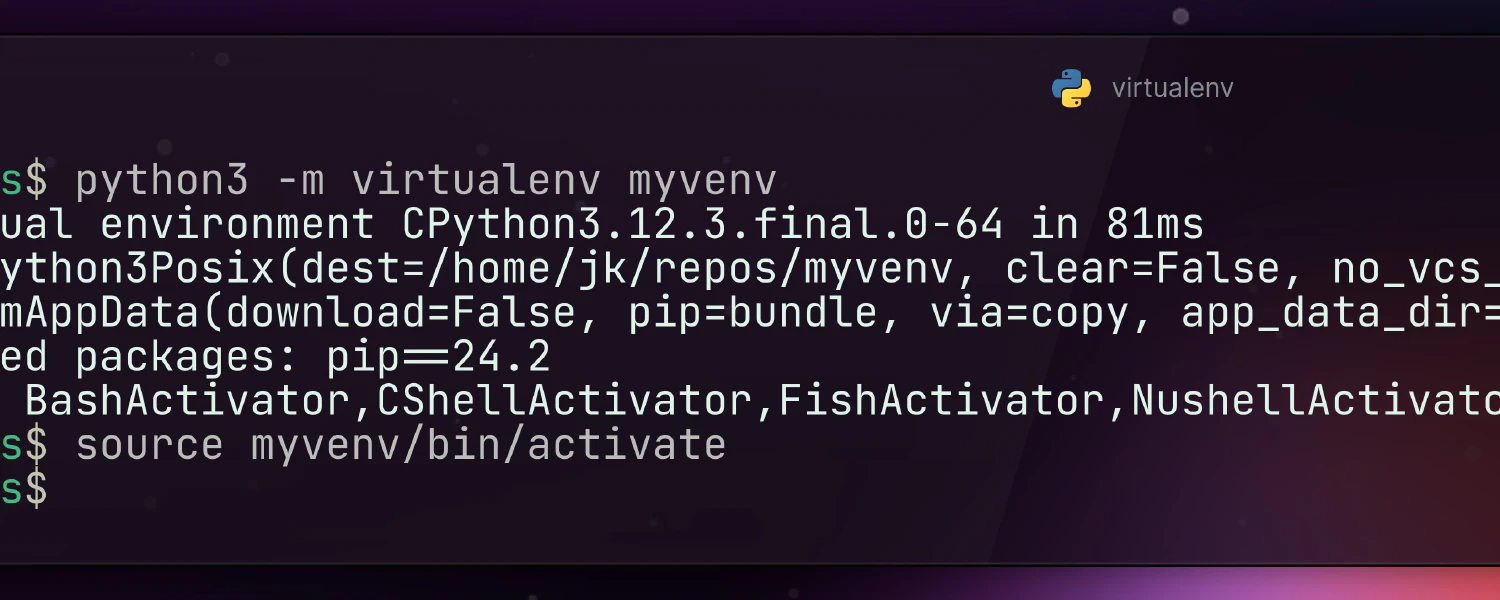
We have the script above, depending on requests package. We create a virtualenv for this project, and install requests in it. We then activate the virtualenv, and run our script.
python3 -m venv myproject
source myproject/bin/activate
pip install requests
python3 retrieve_github_html.py
We can see that the first command created a directory called myproject, and installed requests in it. We then activated the virtualenv with the source command, and installed requests with pip. This pip command installed requests in the virtualenv, not in our system. We can see this by running pip freeze (which will show all currently installed packages):
pip freeze
Output:
requests==2.22.0
If we deactivate the virtualenv, we can see that requests is no longer installed (provided we haven’t installed it in the system before):
deactivate
pip freeze
To activate the virtualenv again, we can use the source command again. We can also delete the virtualenv by removing the myproject directory.
tool recommendation: Virtualenvwrapper
There are many tools that make working with virtualenvs easier. If you haven’t tried any, virtualenvwrapper[https://virtualenvwrapper.readthedocs.io/en/latest/index.html] is the one you should start with. It stores all your virtualenv directories in a single place on your system, and provides easy commands to create, delete, and activate virtualenvs. It prevents problems like figuring out where your virtualenv is or having to edit .gitignore files for each project to exclude virtualenv directories. It has been my favourite tool for years, because it doesn’t add any complexity to the virtualenv concept, it just makes it easier to use.
